How To Download Logical Processors Bios – A Comprehensive Guide!
Upgrading or downloading the BIOS for logical processors can optimize your system’s performance, enhance stability, and provide essential updates.
This guide will walk you through the steps to successfully download the BIOS for logical processors, ensuring a smooth and efficient process.
Understanding Logical Processors:
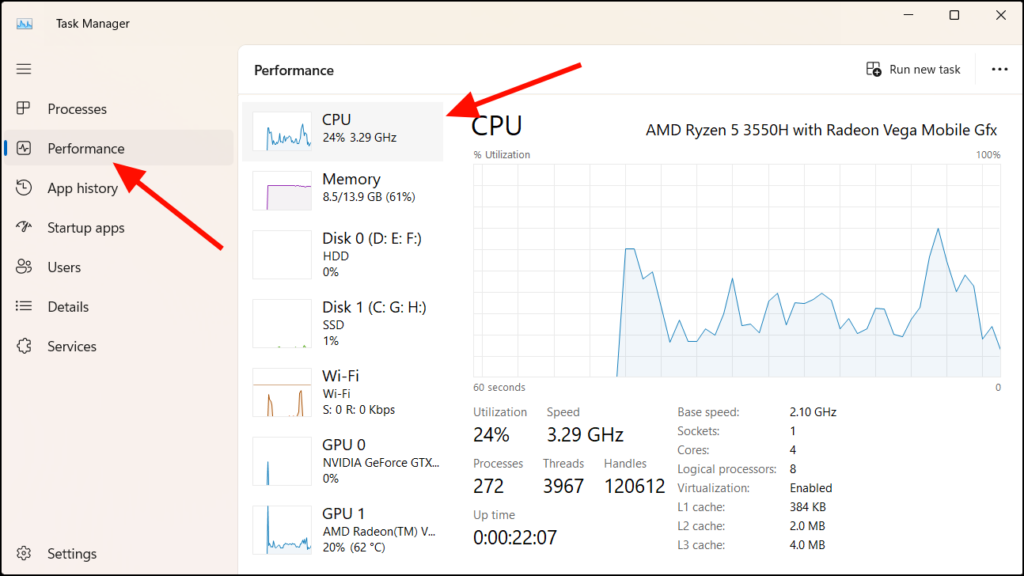
Logical processors refer to the individual cores within a CPU that handle separate threads. Modern CPUs can have multiple logical processors, enhancing multitasking and overall performance. Updating the BIOS can help in better managing these processors and improving system efficiency.
Why Update the BIOS?
- Performance Enhancement: BIOS updates can optimize the interaction between the hardware and the operating system, leading to better performance.
- Stability: Updated BIOS can fix bugs and compatibility issues with new hardware or software.
- Security: Newer BIOS versions often include patches for vulnerabilities.
- Support for New Hardware: BIOS updates can add support for new processors, memory, and other components.
Steps to Download BIOS for Logical Processors:
Step 1: Identify Your Motherboard and CPU
Before downloading the BIOS, you need to know your motherboard model and CPU type. This information is crucial to ensure compatibility.
Motherboard Model:
- Manual Check: Refer to the motherboard manual or the product label on the motherboard itself.
- System Tools: Use system information tools like CPU-Z or Speccy to get detailed information about your motherboard.
CPU Type:
- Physical Check: Check the label on the processor.
- System Tools: Utilize tools like CPU-Z or the Windows System Information tool (msinfo32) to identify your CPU.
Step 2: Visit the Manufacturer’s Website
Once you have the necessary information, go to the official website of your motherboard manufacturer. This ensures you get the correct and most recent BIOS update.
Manufacturer Websites:
- ASUS: ASUS Support
- MSI: MSI Support
- Gigabyte: Gigabyte Support
- ASRock: ASRock Support
- Others: Check your specific motherboard brand’s website.
Also Read: What Socket Do Coffee Lake Processors Use – A Complete Guide!
Step 3: Locate the BIOS Section
Navigate to the support or download section of the website. Enter your motherboard model or use the search feature to find your specific board.
- Support/Download Section: Look for sections labeled as “Support”, “Downloads”, or “Drivers & BIOS”.
- Search for Model: Use the search function to locate your specific motherboard model.
Step 4: Download the Latest BIOS Version
Look for the latest BIOS version available for your motherboard. Ensure it is specifically designed for your model and CPU type. Download the BIOS file and any accompanying utilities.
- Latest BIOS Version: Always download the most recent BIOS version unless you have a specific reason to choose an older one.
- Accompanying Utilities: Some manufacturers provide tools to help with the update process. Download these if available.
Step 5: Prepare for BIOS Update
Before updating, make sure to:
- Backup Important Data: BIOS updates can sometimes fail, leading to system issues.
- Create a System Restore Point: This allows you to revert to a previous state if something goes wrong.
- Read the Instructions: Manufacturers provide detailed instructions for updating the BIOS. Follow them carefully.
- Backup Data: Save important files and documents to an external drive or cloud storage.
- System Restore Point: On Windows, go to Control Panel > System and Security > System > System Protection > Create.
- Manufacturer Instructions: Carefully read the BIOS update instructions provided by the manufacturer. Each model may have specific steps.
Step 6: Update the BIOS
There are generally two methods to update the BIOS:
Using BIOS Update Utility:
- Windows-Based Utility: Many manufacturers provide a utility to update the BIOS directly from Windows. Download and run this utility, then follow the on-screen instructions.
- Manufacturer-Specific Tools: For example, ASUS EZ Flash, MSI Live Update, Gigabyte @BIOS, etc.
Using USB Drive:
- Format USB Drive: Format a USB drive to FAT32 and copy the BIOS file to it.
- Restart Computer: Restart your computer and enter the BIOS setup (usually by pressing a key like F2, F10, or DEL during boot).
- BIOS Update Option: Use the BIOS update option and select the file from the USB drive. Follow the on-screen instructions to complete the update.
After the Update:
- Restart the Computer: After updating, restart your computer to apply the changes.
- Check BIOS Version: Enter the BIOS setup again to verify the update was successful.
- Reconfigure Settings: If necessary, reconfigure any custom BIOS settings.
- Verify Update: Double-check that the BIOS version displayed in the BIOS setup matches the version you installed.
- Reapply Settings: If you had custom BIOS settings, you might need to reapply them after the update.
Troubleshooting:
- Failed Update: If the update fails, consult the motherboard manual or support resources.
- System Instability: If you experience instability after the update, consider rolling back to the previous BIOS version.
- Recovery Options: Some motherboards have dual BIOS features or recovery tools to restore a failed update.
- Support Resources: Check the manufacturer’s website or forums for troubleshooting guides and user experiences.
FAQ’s
1. What are logical processors?
Logical processors are individual cores within a CPU that handle separate threads, enhancing multitasking and performance.
2. Why should I update my BIOS?
Updating the BIOS can improve performance, fix bugs, enhance stability, and provide support for new hardware and security patches.
3. How can I identify my motherboard model?
You can identify your motherboard model by referring to the manual, checking the product label, or using system tools like CPU-Z or Speccy.
4. Where can I find the latest BIOS update?
The latest BIOS update can be found on your motherboard manufacturer’s official website, usually in the support or download section.
5. What should I do before updating the BIOS?
Before updating the BIOS, backup important data, create a system restore point, and carefully read the manufacturer’s instructions.
6. How can I update the BIOS using a USB drive?
To update the BIOS using a USB drive, format the drive to FAT32, copy the BIOS file, restart your computer, enter the BIOS setup, and use the update option.
7. What if my BIOS update fails?
If the BIOS update fails, consult the motherboard manual or manufacturer support resources, and consider using recovery options if available.
8. How do I check if the BIOS update was successful?
After updating, restart your computer, enter the BIOS setup, and verify that the displayed BIOS version matches the one you installed.
Conclusion
Downloading and updating the BIOS for logical processors is a straightforward process that can yield significant benefits. By following these steps, you can ensure your system remains up-to-date, stable, and secure. Always use official sources for downloads and follow manufacturer instructions carefully to avoid potential issues.